

This method, in our opinion, is the most classic and fun. Having prepared your meat in marinade, and inside of a plastic bag, sliced and ready to go, you will be ready to enjoy your freshly made jerky while hiking during family camping trips. If you’ve already experimented with dehydrators, ovens, and box fans in your jerky-making journey, then you’ll have the experience and know-how necessary to create a wonderful eating memory…at camp.
Jerky is such a stable trail food because it is almost completely dehydrated. The ideal camping jerky setup is to build a rack somewhere sunny and with a good breeze; then simply hang the jerky and allow it to sun dry. If this isn’t what you want to do, a field-expedient smoker is what we’ll be building here.
The Korean Campfire Jerky Recipe
| 2 pounds of a beef steak of your choice | 3 tablespoons of honey |
| 1/4 cup of Korean Gochujang Sauce | 1 tablespoon of kosher salt |
| 1/2 cup of soy sauce | 3 teaspoons of sesame seeds |
| 1-inch piece of grated ginger | 1/2 teaspoon of sesame oil |
| 4 cloves of garlic – crushed and chopped | To taste: powdered cumin |
| To taste: red chili flakes | To taste: ground black pepper |
Preparation Materials for Your Adapted “Spit“
- 3 straight green sticks between 5–6 feet long, and the width of a broomstick.
- 3 green sticks, 3 feet in length, and about half the diameter of the larger sticks.
- A handful of smaller sticks, about ½ an inch in diameter, and between 1 and 3 feet long.
- Lightweight string or cord.
- A number of green fir boughs, or other leafy, moist vegetation.
- Wood for a small fire, and a decent amount of green hardwood.
Step 1. Find a site to safely build a fire, and create a firepit.
Step 2. Be sure to dig down past any duff, to mineral earth, and create a barrier between the firepit and any flammable material.
Step 3. Then, using the 3 largest sticks, tie a tripod and set it over the pit.
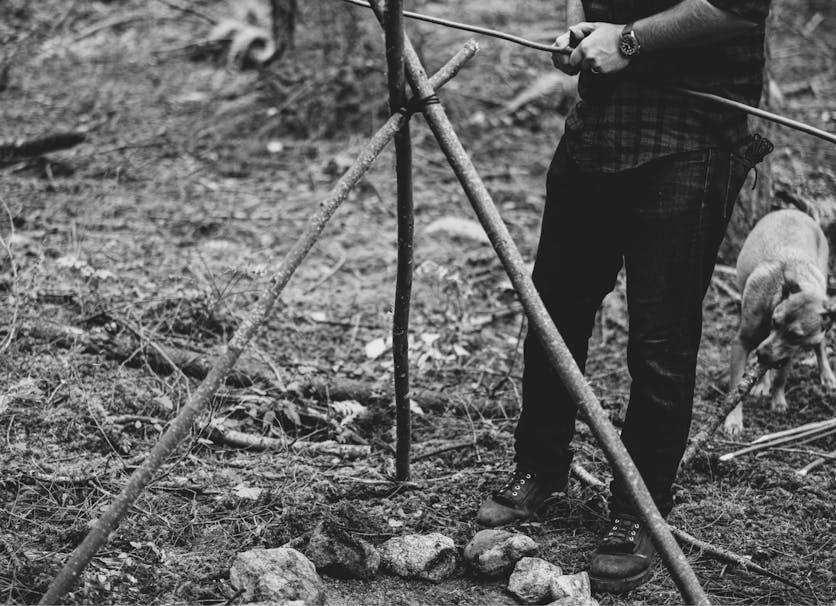
Step 4. Set your tripod such that the legs span about 2½ feet at the perimeter of the fire pit.
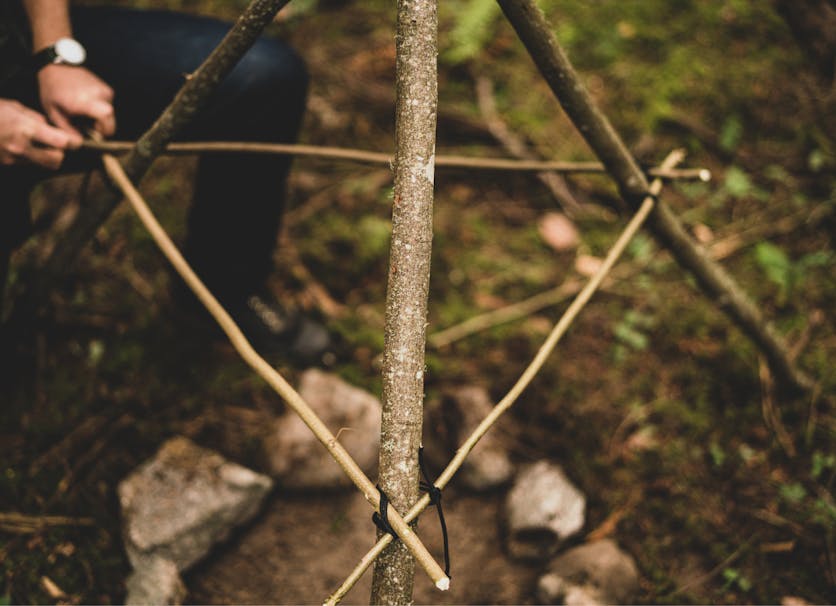
Step 5. Then, lash the 3 smaller sticks to the tripod to create a horizontal frame above the fire.
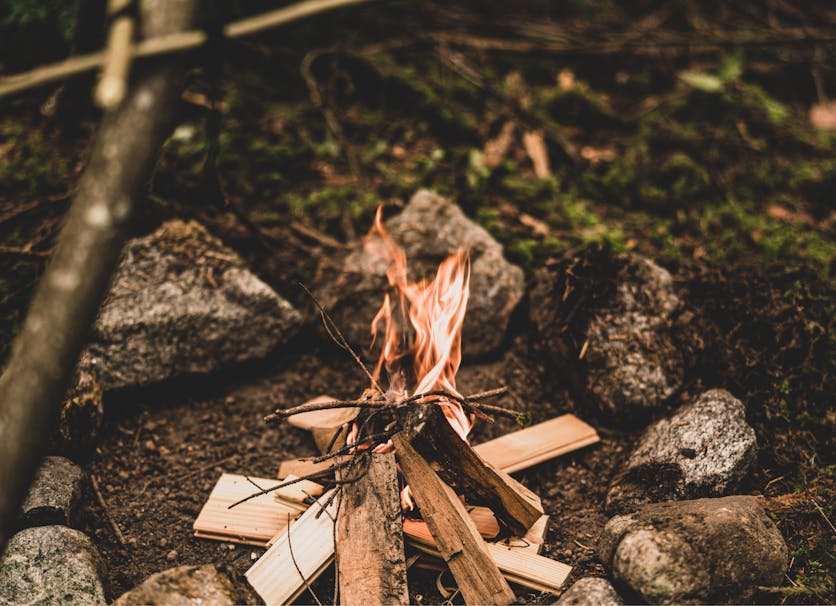
Step 6. At this point, your heating/drying structure is complete. Build a small, hot fire in the pit, beneath the tripod and frame. Start with softwood kindling, but then move to hardwood fuel. The hardwood produces better coals, which will stay hot for a while, lessening the need to refeed the fire.
Step 7. As far as size goes, the goal is to have a fire that is big enough that you can feel good heat at the level of the horizontal frame, but not so big as to make that too hot at that same level that it would be grilling the meat. Shoot for somewhere around 150° and at least the length of a ruler from the top of your fire’s flame. If your sticks had been measured correctly, your temperatures should be managable as well as the ease of hanging your sticks of jerky.
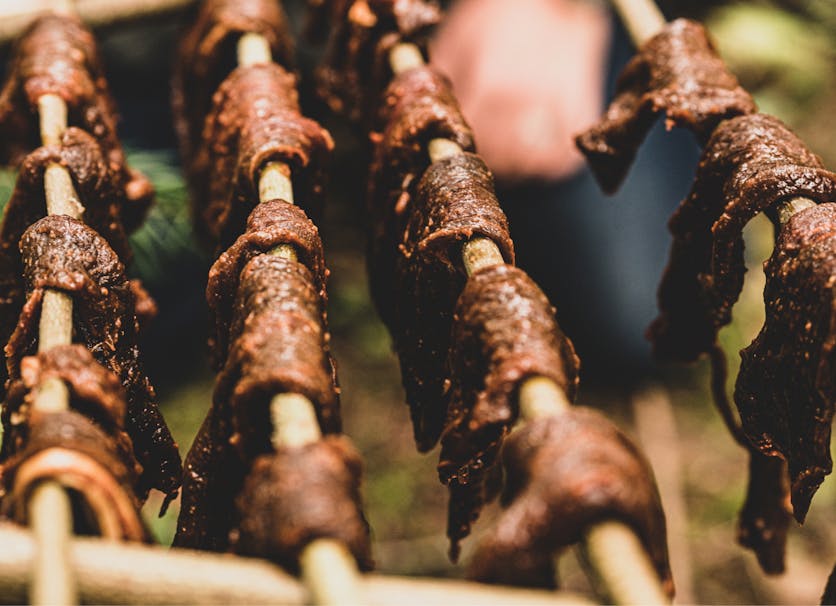
Step 8. When the fire is stable at that heat level, it’s time to put the jerky on. Using the smallest sticks as hangers, hang the individual pieces of meat over the fire, making sure to keep everything spaced out enough to allow plenty of space for air movement.
Step 9. When all of the meat is in place, there are two paths to take.
(a) If the weather is good, leave it as is. The heat from the small fire will speed up the drying, and the smoke will keep away any insects.
(b) However, if the weather is going to hinder rather than help the drying process, covering the top of the tripod with fir boughs or a similar brush can protect the meat, while holding the smoke and heat in, and speed up the drying process.
Step 10. Tend the fire as the meat dries. Because of the structure, an increased amount of care and supervision is required. To be on the safe side, be sure to have the materials necessary to extinguish the fire close at hand, and don’t leave the fire unattended. If you like the flavor or need more protection from insects, green hardwood can be added to the fire to increase the amount of smoke flavoring you’re after.
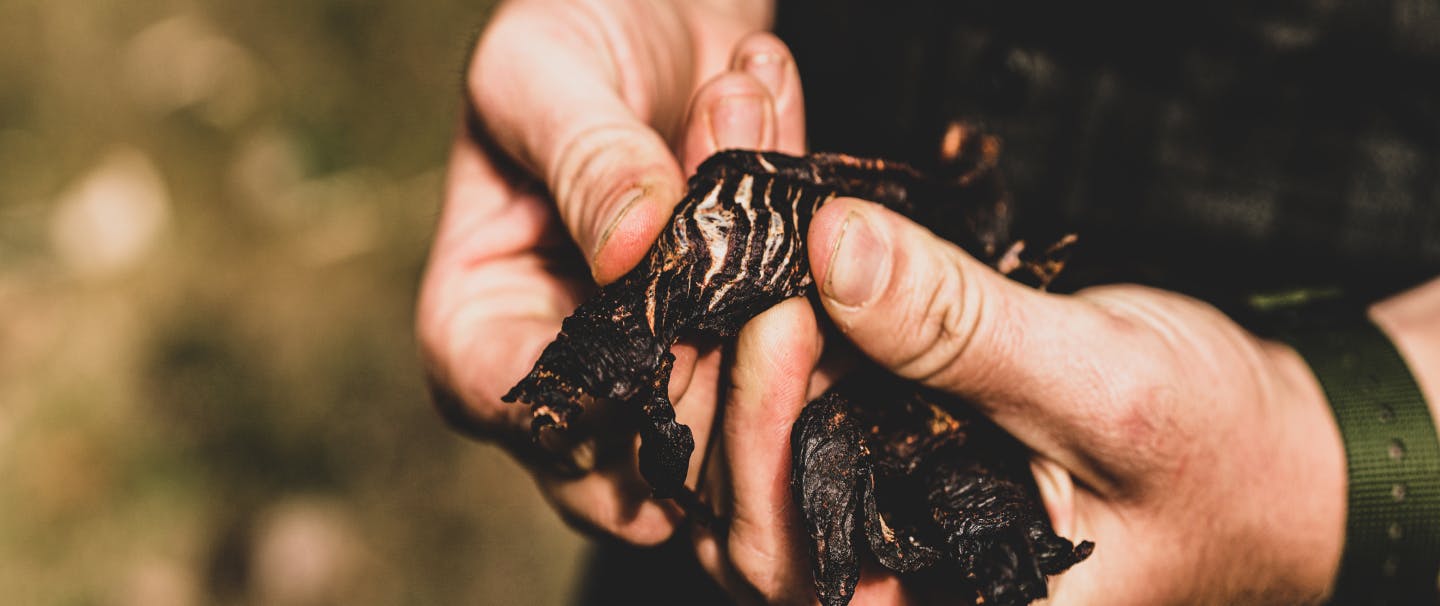
The jerky is done when it feels dry and stiff, and when the individual muscle fibers will “feather” when a piece is bent or torn.
Note that this method is not officially approved by the USDA. The consumption of raw or improperly cooked meats increases the risk of foodborne illnesses.
Conclusion
And, there you have it: a cross-culturally adapted beef jerky recipe with Korean gochujang (a red, sweet chili paste) and the field-expedient smoker for one of the best survival foods known to humankind, able to be prepared for long-term storage, or even after a fresh hunt.
“Finding some quiet time in life; I think is hugely important.”
Mariel Hemingway
“Always Be Ready” Max