
How To Start Seeds For A Garden
Growing your own plants from seed is not only satisfying, but it’s also a lot of fun. I’ve found and implemented the following methods overtime to ensure that seeds get a good start in life.
1. Keep Track Of Seeds
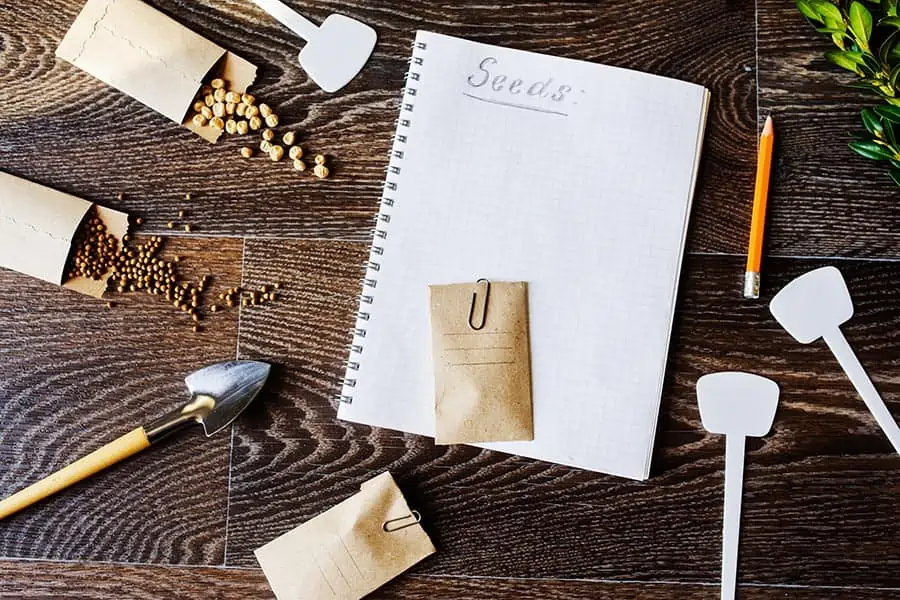
How do you keep track of seeds?
The art of record-keeping, which is frequently overlooked, is an important component of plant propagation.
Whether you’re growing a few plants for your house’s flower and vegetable gardens or have a homestead. Keep track of the date that seeds were sown, the germination rate and success rate, and when seedlings are ready to be transplanted each year.
At the end of the year, consider the timeliness of your production schedule, noting what worked and what didn’t.
These observations will help you make changes for next year to ensure that your plants are cultivated under ideal conditions.
You may keep track of where we buy seeds because the quality and dependability of each source vary.
2. Store Vegetable Seeds
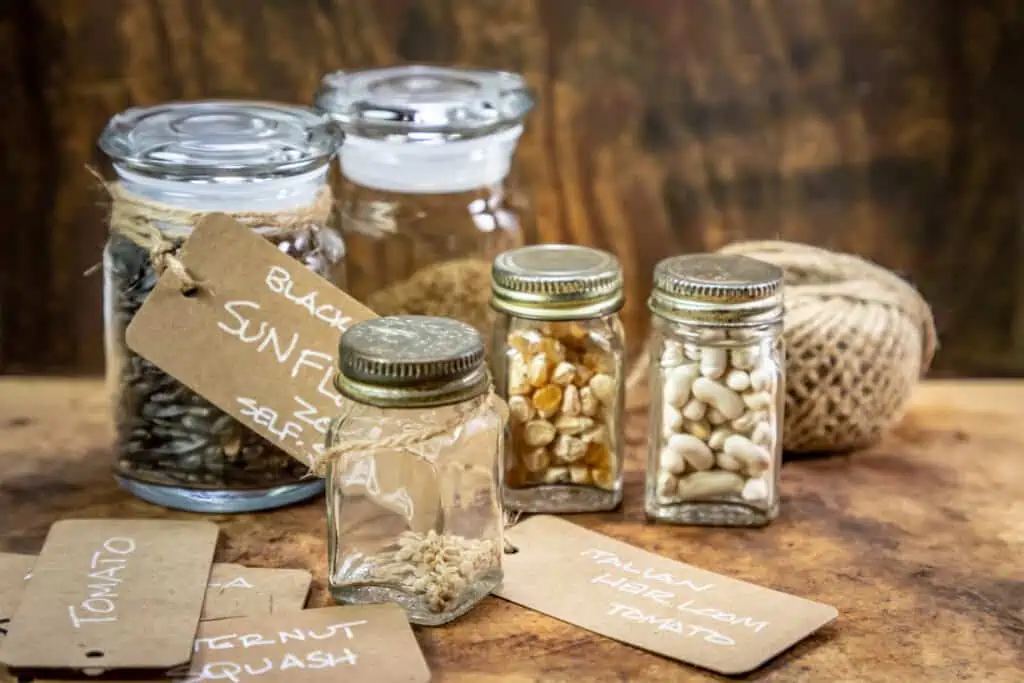
To remain dormant, seeds should be kept in a cool, dark place with low humidity, such as the refrigerator.
I recommend labeling them (seed name, source, year) and storing them in a small reclosable bag or empty film canister that is then stored in a larger plastic container.
You may test the viability of many, but not all, seeds by soaking them in water for a few hours once you are prepared to sow. The living seeds will sink to the bottom, while the dead ones will float on the surface.
This technique is most effective for bigger seeds, although there are no hard and fast rules.
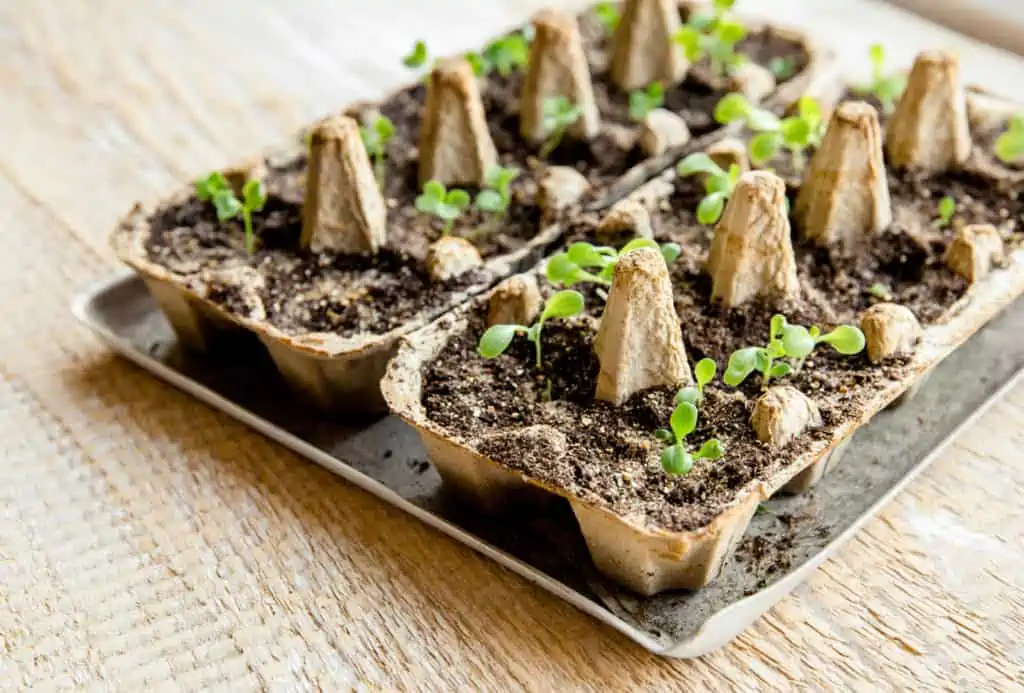
3. Use Big, Flat Storage Containers For Your Seeds
Containers that are too big create overcrowding and overly wet conditions around delicate, young roots. Plants that resist being transplanted should be put into tiny, individual containers such as cell packs or plug trays if they dislike root disturbance.
4. Tamp Seeds Down
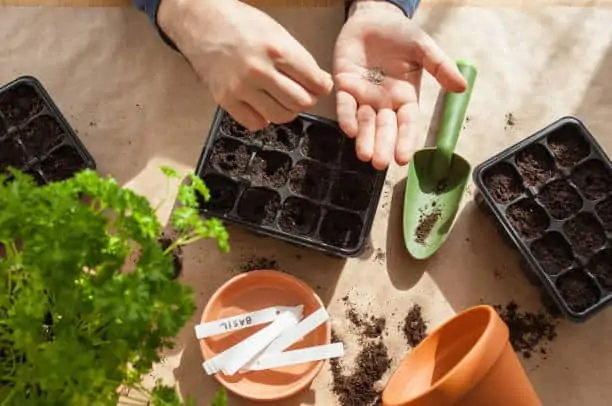
Cover seeds with a sieved potting mix as soon after planting as possible.
To ensure good contact between the seeds and the mixture, lightly tamp them down.
Spread soilless seed-starting mix over the top of the seeds to a depth of two times the seed diameter using a kitchen sieve.
Place very tiny seeds and those that need light to germinate on top of the surface. To start germination, each seed must be firmly in touch with the wet surface, whether it’s covered with a planting medium or not.
Use a pestle or even the bottom of a glass to softly press down the surface.
5. Provide Ventilation And Drainage To Help Prevent Disease
A sprinkle of sphagnum moss and chicken grit aids in the prevention of infections by keeping the surface dry.
Excess moisture and poor air circulation are usually to blame for fungal infections, commonly known as damping-off. However, there are a few cultural methods that will aid in the prevention of fungus.
To keep the soil around the emerging shoots dry and create an unwelcoming environment for pathogens, cover them with a thin layer of 50% milled sphagnum moss and 50% starter chicken grit (finely ground stone) after tamping down the seeds with planting mix.
Place a little fan near your seedlings to help promote excellent air circulation. Set the fan on low and point it toward the containers at ground level, where trapped air may build up and stagnate.
6. Keep The Moisture Level Constant
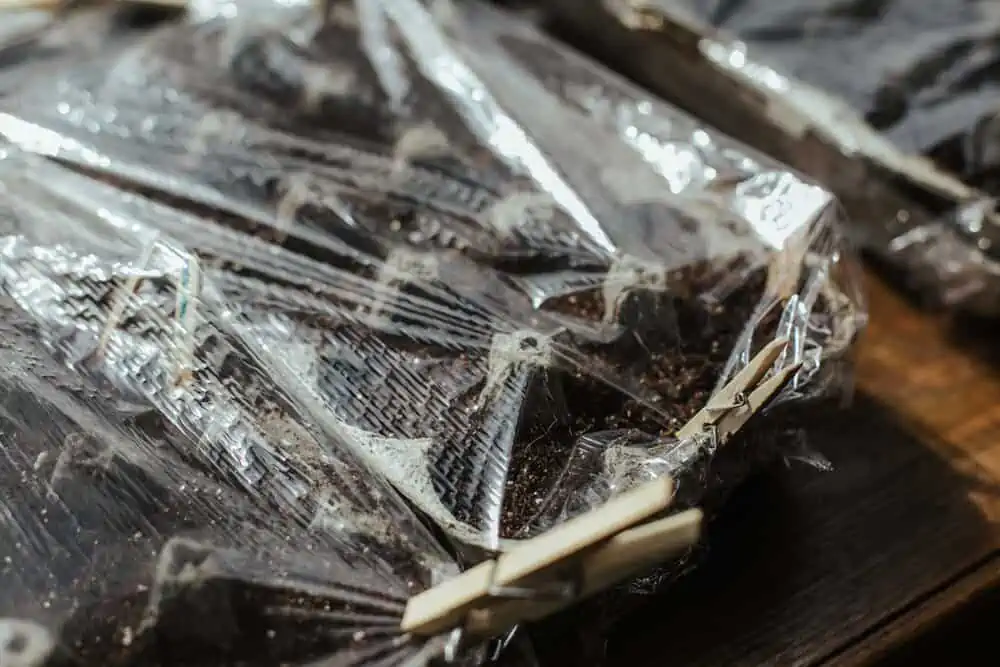
Plastic wrap maintains a consistent moisture level. If more water is required, allow it to drain from the bottom. Overwatering and underwatering have a detrimental impact on seeds.
Watering excessively may also harm germinated seeds. Watering too heavily can damage germinating seedlings. Covering the surface of a newly sown seed pot with plastic wrap might help to keep the moisture level consistent. However, the container must be checked for moisture and germination on a regular basis.
Place the whole pot in a basin with 2 to 3 inches of warm water and allow the planting medium to wick moisture from the bottom if you find that your seed container is in need of rehydration. If necessary, spritz the surface with water from a spray bottle after only the top layer has dried. Remove the plastic wrap as soon as the seeds germinate.
7. Keep Seeds Warm
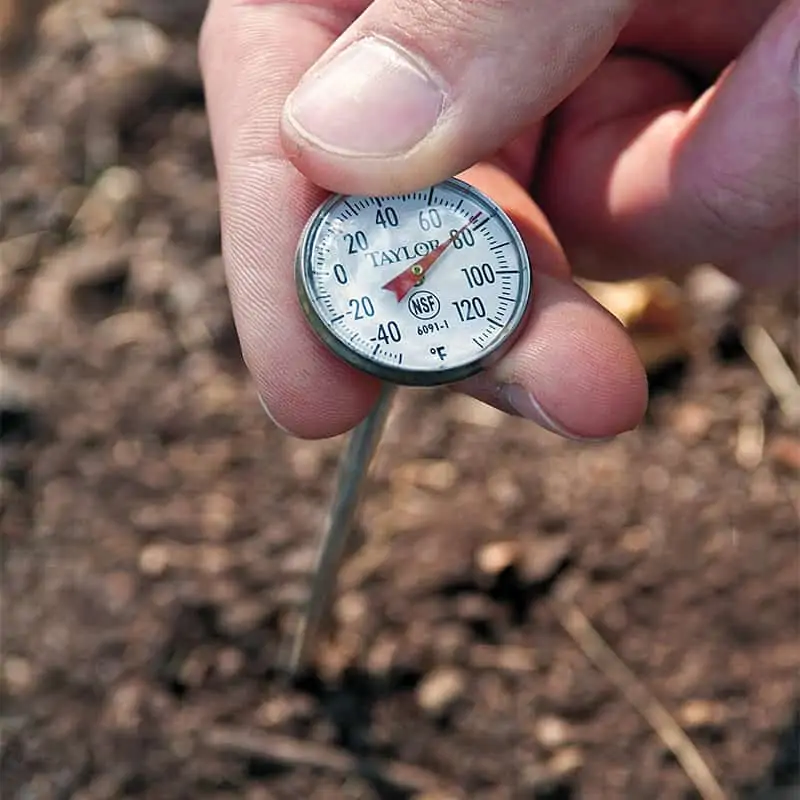
To germinate, most seeds need temperatures of 65° to 75°F. To raise the ambient temperature as needed, place seed pots near a heating source or utilize a space heater with appropriate safeguards.
A heating pad used for plant care placed directly below the seed containers will also warm the planting mix and encourage germination. When utilizing any additional heat source, be sure to check for moisture on a frequent basis because the seed containers might dry out faster.
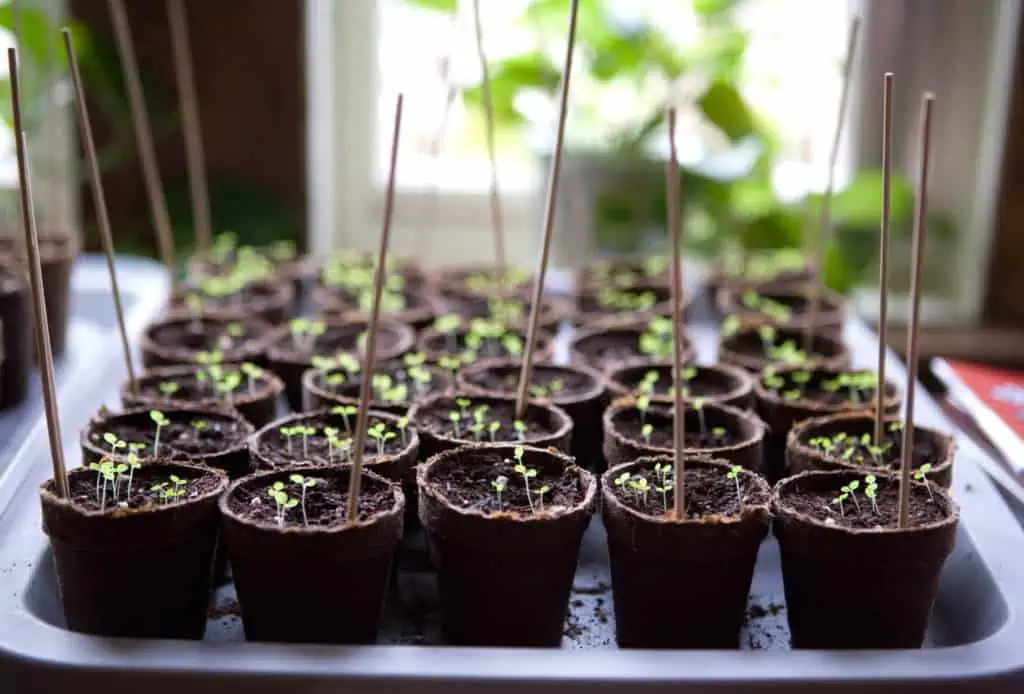
8. Keep The Stems Strong
A sunny windowsill is ideal for growing sprouted seedlings. The stems of the plants should be lightly brushed to stimulate growth. Without sunlight, most seeds will not germinate and will do best with 12 to 16 hours of light each day.
Indoors, set the seed pots in a sunny, south-facing window for a quarter turn each day to avoid the seedlings from overreaching for the light and growing frail, elongated stems. Also, softly brush your palm against the tops of the plants to encourage strong stem development.
9. Fertilize Your Seedlings
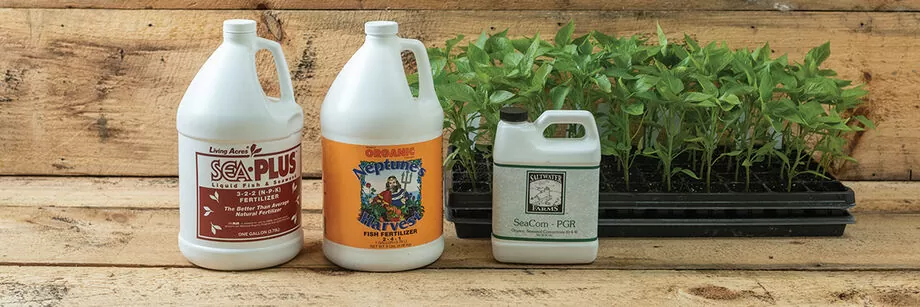
What should you feed your seedlings?
Water-soluble, all-purpose fertilizer is ideal. It should include trace elements and minerals as well as organic compounds such as humic acid.
Most seed-starting mixes have a little nutritional boost to assist with this transition while avoiding harm to the root growth.
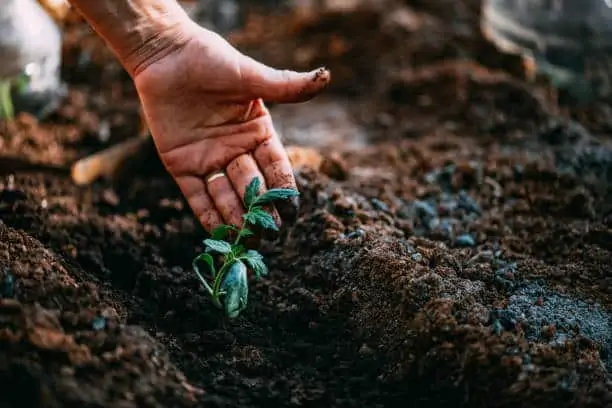
10. Gradually Expose Your Seedlings To Sunlight
In a cold frame, the seedlings are acclimated to outside conditions. Seedlings must be hardened off before being planted outdoors; this is known as acclimation and involves exposing them to direct sunlight and changing temperatures.
If you’re planning to transplant roselle seedlings, it’s best to do so over a three-day period by exposing them to direct sunlight during the morning only of the first day, then gradually increasing their time outside each day until they are strong enough to transplant.